
Photography tips
ISO-Settings
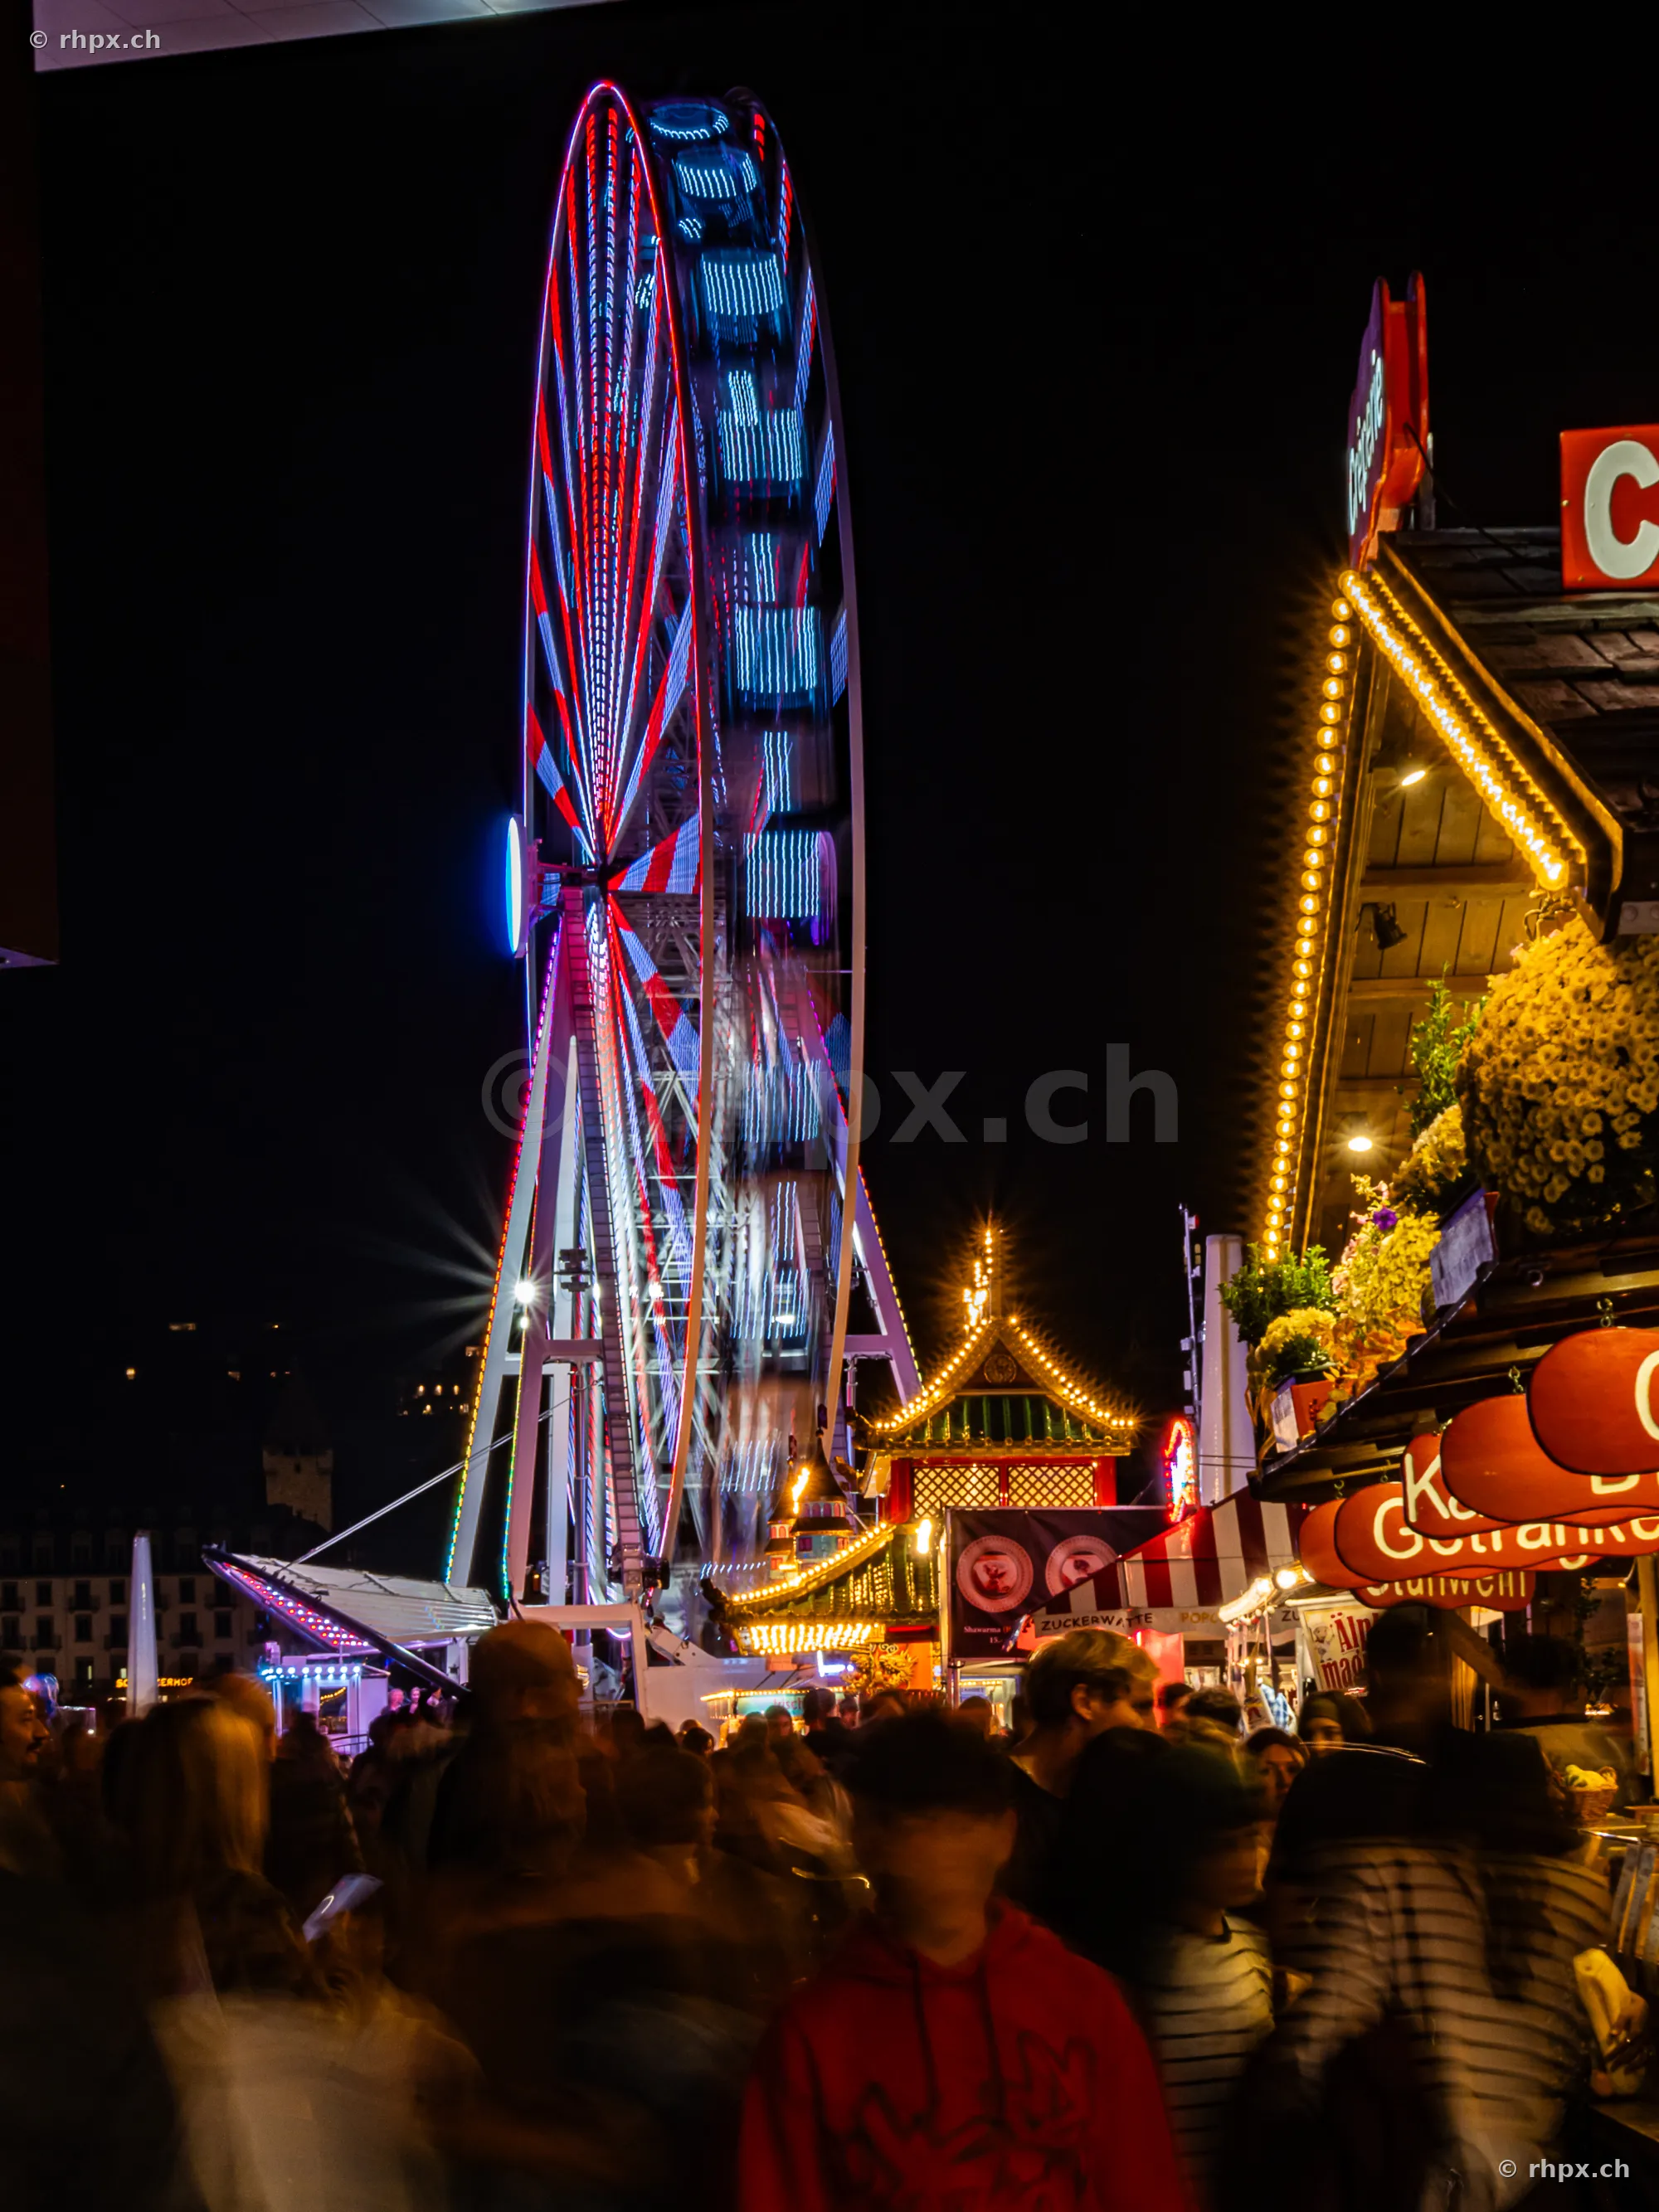
The ISO setting determines the light sensitivity of your camera sensor. It forms the third pillar of exposure alongside aperture and shutter speed, significantly influencing how your camera reacts to different lighting conditions.
Controlling Light Sensitivity
Adjusting ISO sensitivity is essential to achieve a technically correct exposure in varying light conditions. In bright environments, you keep the value low to maximize image quality and avoid digital noise. In fading light or darkness, you increase the sensitivity to allow sufficient light onto the sensor despite short shutter speeds.
Balancing Image Quality and Exposure
A high ISO value allows for shots in low light but leads to visible image noise as sensitivity increases. The goal is to choose an ISO value that achieves an appropriate shutter speed for shake-free images without compromising details through excessive noise. This requires a constant balance between available light, shutter speed, and the desired image clarity.
What ISO affects during shooting
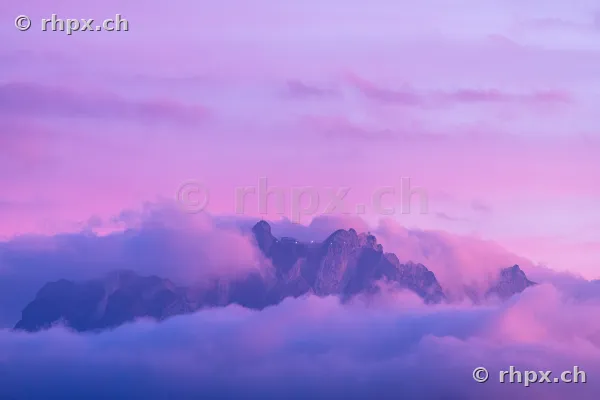
Minimizing image noise
In sufficient lighting conditions, a low ISO setting is the foundation for a clean image. This prevents disturbing digital noise from appearing in dark areas or within homogeneous color gradients.
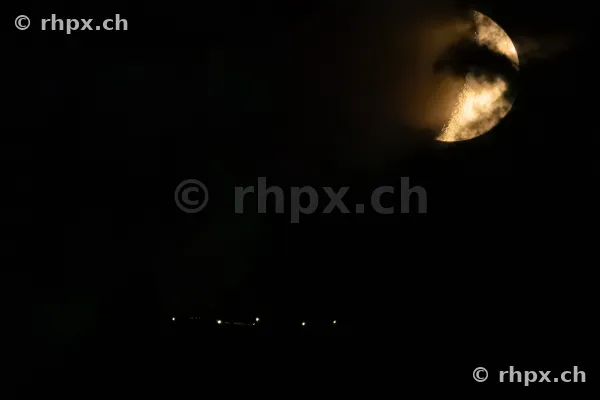
Controlling shutter speeds
When shooting handheld, a higher ISO value helps to maintain a short shutter speed. This allows you to avoid motion blur for moving subjects or camera shake in fading light.
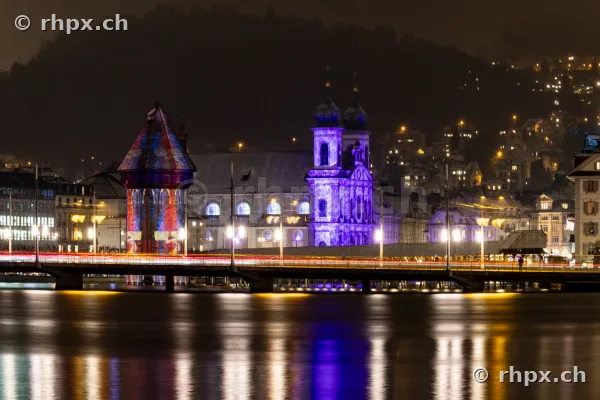
Detail capture at night
In the dark, a high ISO sensitivity enables the capture of dimly lit details. This is especially crucial when photographing the starry sky or when ambient light is scarce, in order to expose the sensor sufficiently.
Three concrete examples
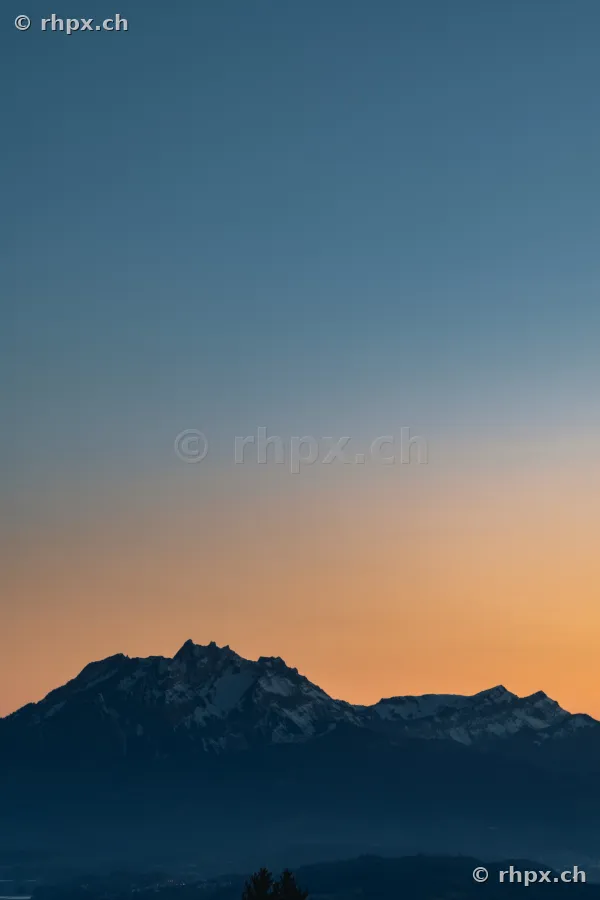
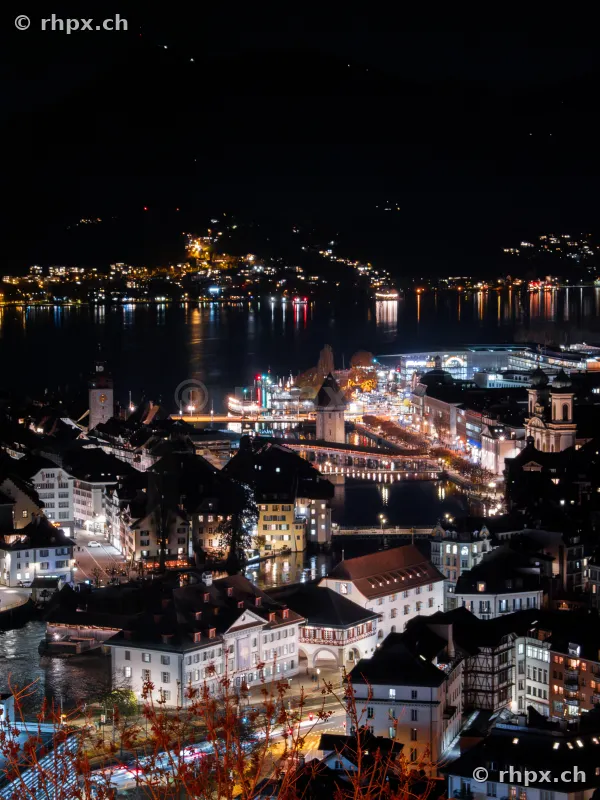
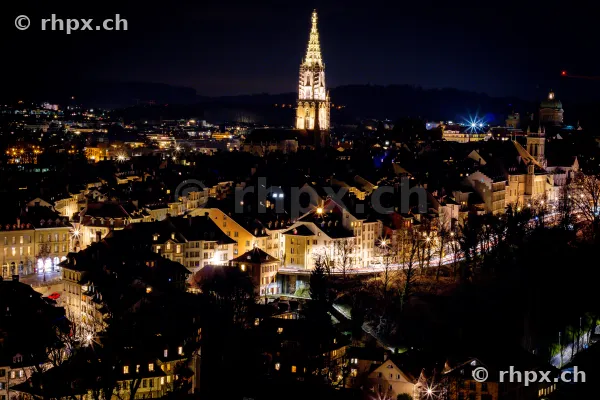
Key tips
- Keep the ISO value low in bright light to ensure high image quality without disturbing digital noise.
- Adjust ISO sensitivity flexibly in fading light or twilight to achieve short shutter speeds for sharp images.
- Select a high ISO sensitivity for night shots or difficult lighting conditions to capture sufficient light for visible details.
Photographs on this topic
311 photographs with tips
The exact camera settings for each shot are shown below it - a starting point for recreating the look yourself. Click through to a photograph for detailed photography tips on that specific shot, under "Photography tips for this image".
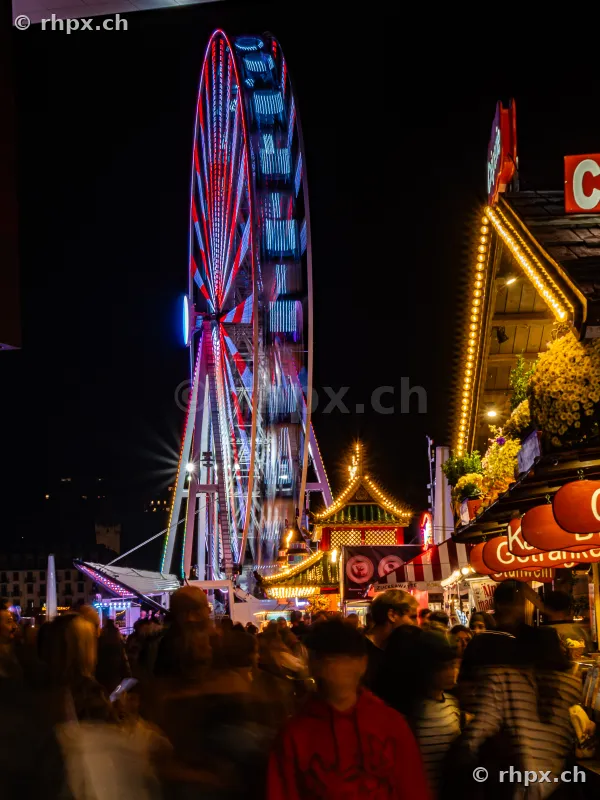 37 mm · f/18 · 1 s · ISO 200
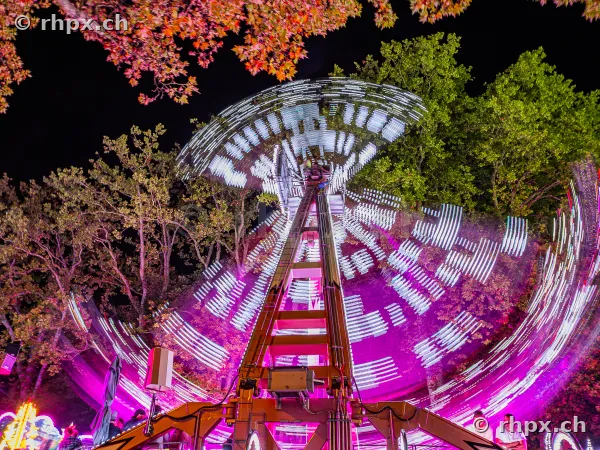 12 mm · f/9 · 2 s · ISO 200
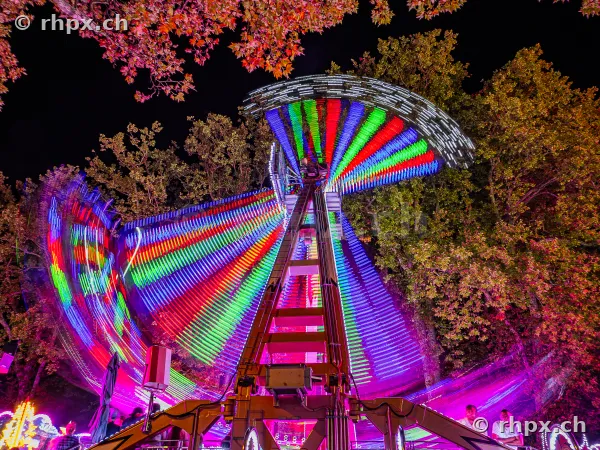 12 mm · f/10 · 2 s · ISO 200
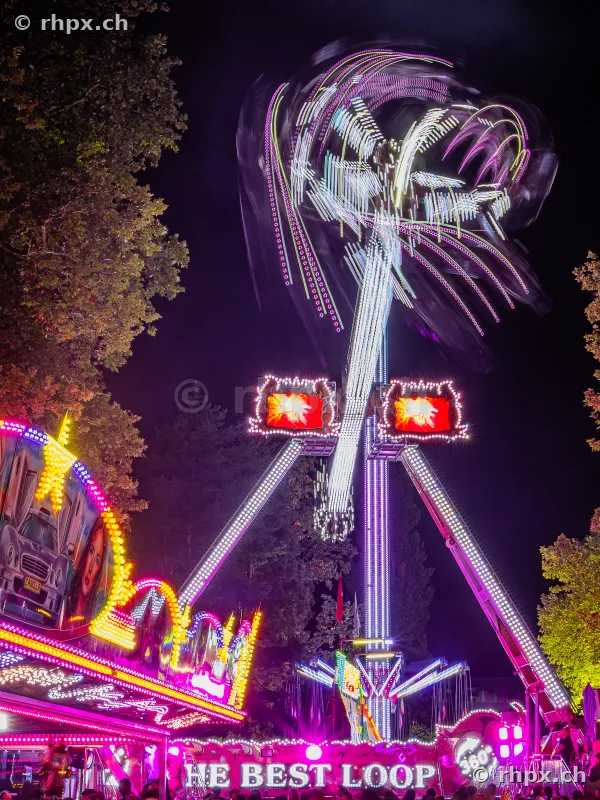 32 mm · f/16 · 1 s · ISO 200
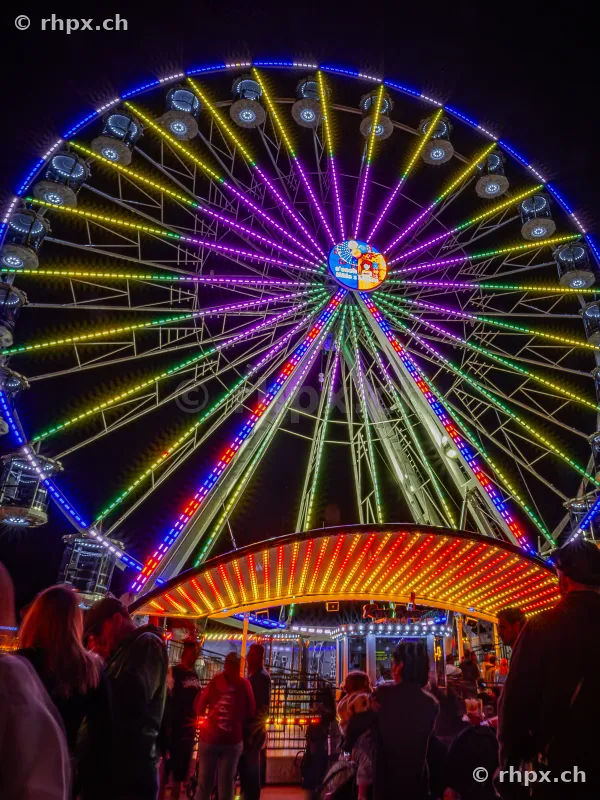 12 mm · f/22 · 1 s · ISO 80
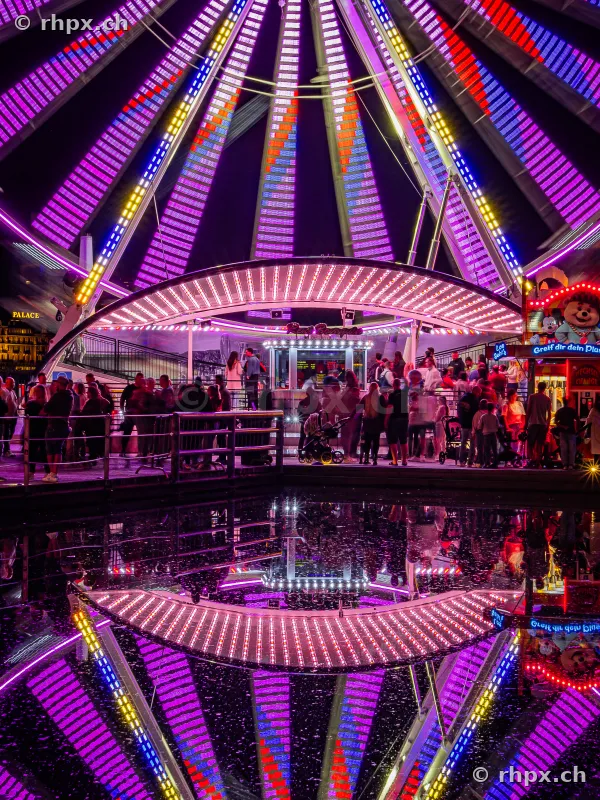 37 mm · f/16 · 1 s · ISO 200
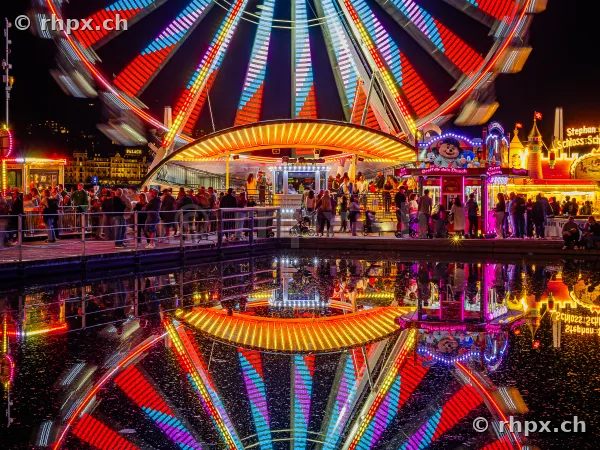 30 mm · f/13 · 1 s · ISO 200
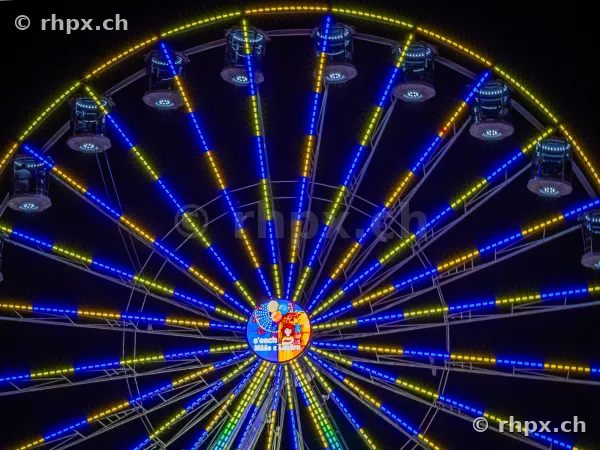 42 mm · f/18 · 1/2 s · ISO 200
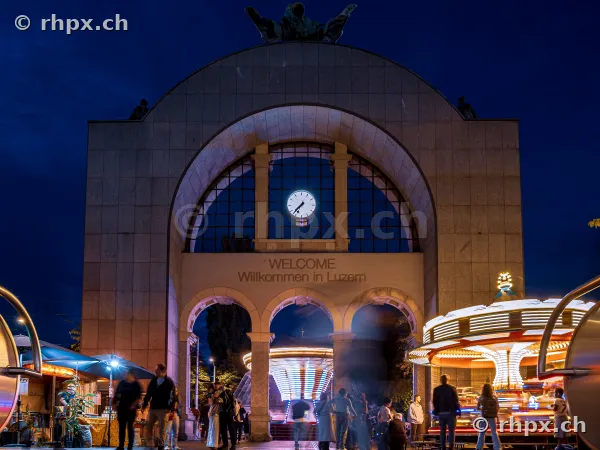 12 mm · f/4.5 · 1/2 s · ISO 200
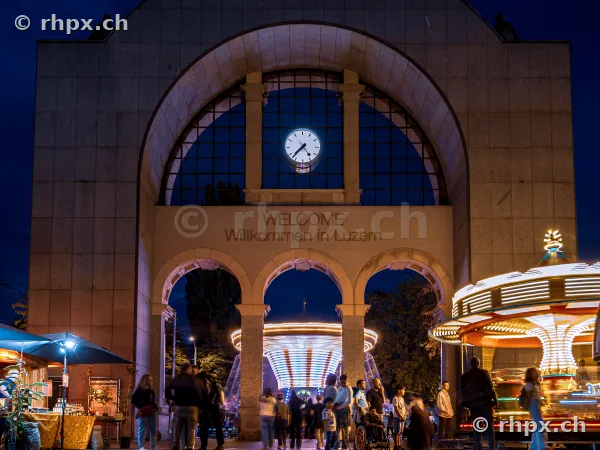 15 mm · f/5 · 1/2 s · ISO 200
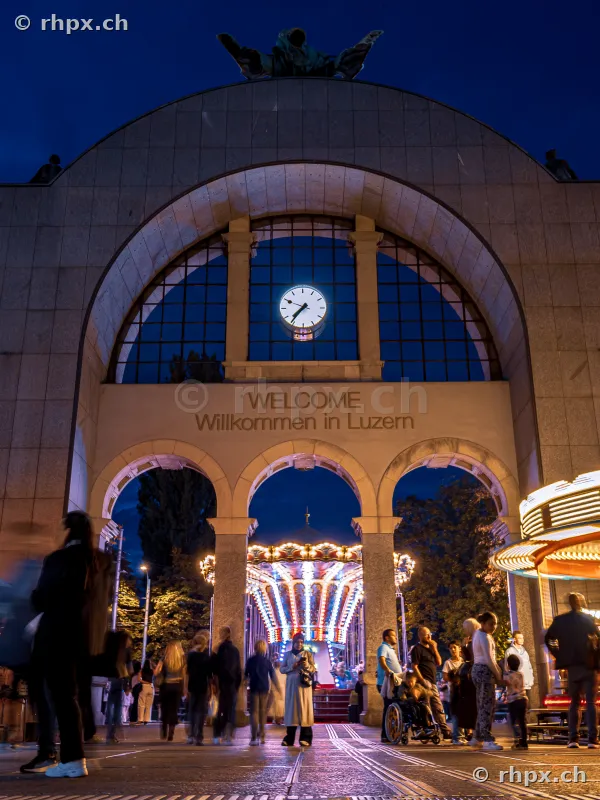 15 mm · f/5 · 1/2 s · ISO 200
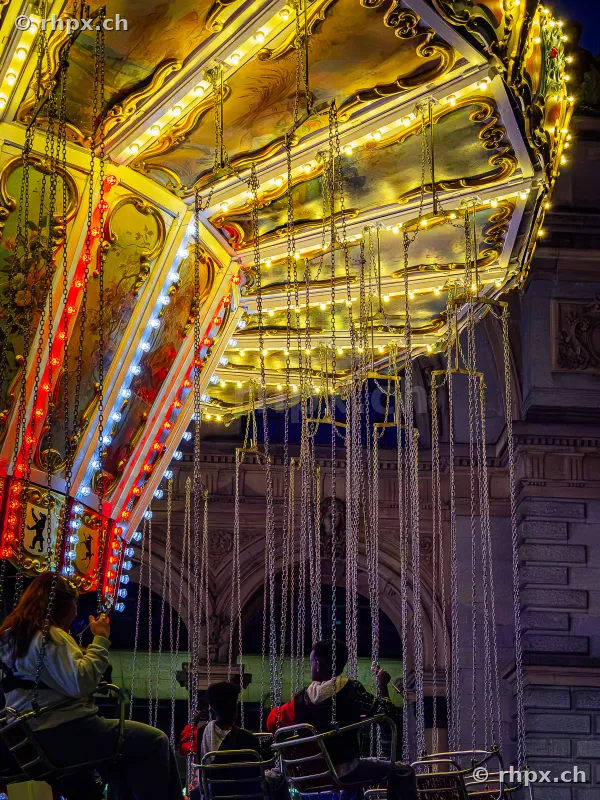 29 mm · f/4 · 1/400 s · ISO 6400
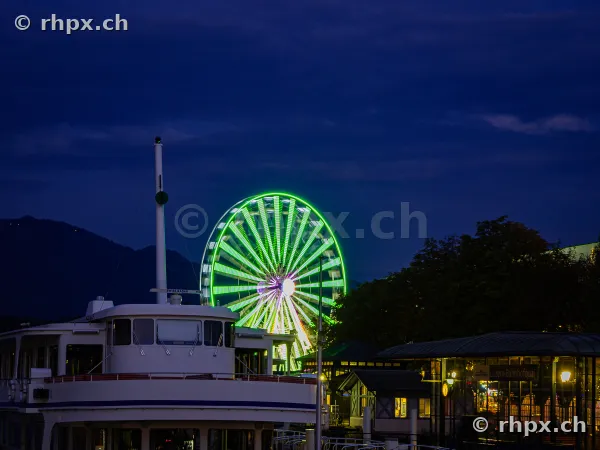 45 mm · f/6.3 · 1/1 s · ISO 200
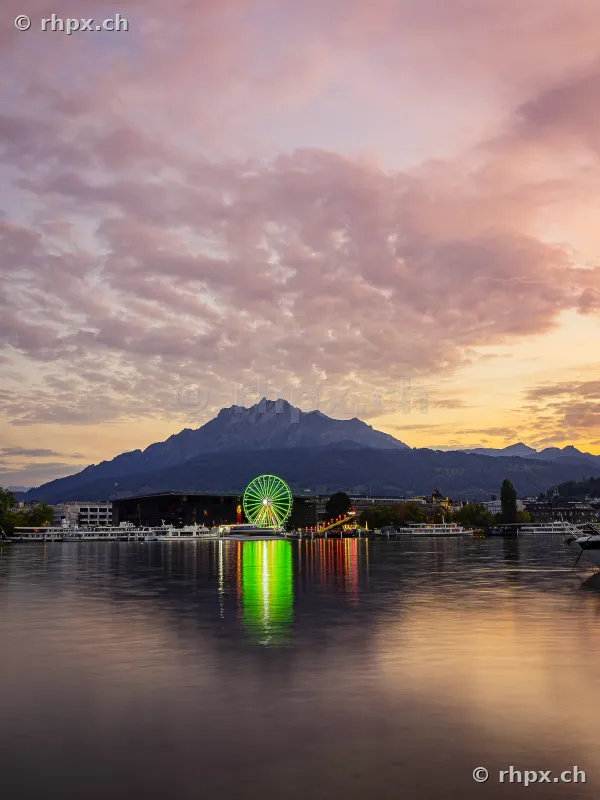 16 mm · f/10 · 4 s · ISO 200
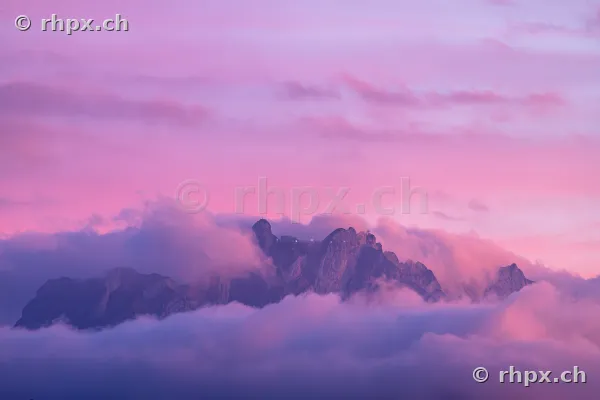 400 mm · f/9 · 1/15 s · ISO 800
400 mm · f/8 · 1/250 s · ISO 25600
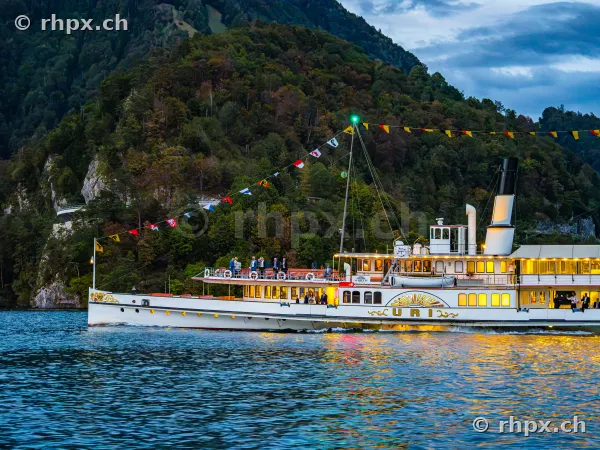 36 mm · f/4 · 1/100 s · ISO 6400
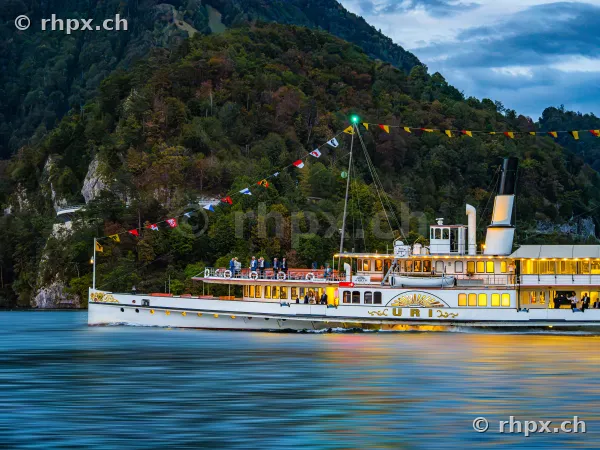 36 mm · f/4 · 1/100 s · ISO 6400
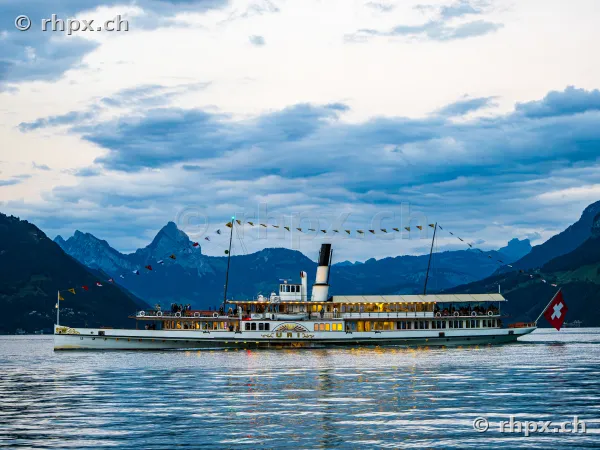 36 mm · f/4 · 1/125 s · ISO 1600
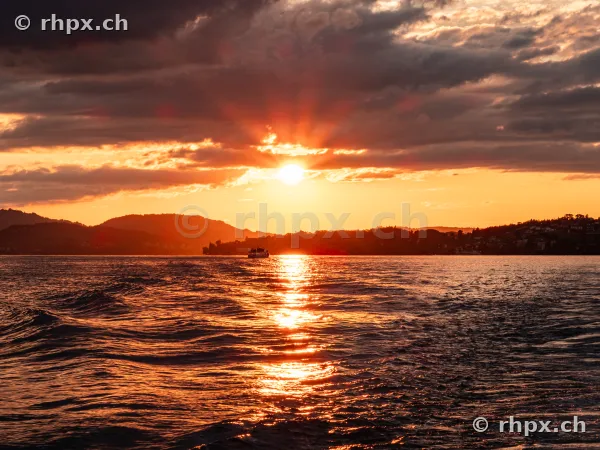 45 mm · f/16 · 1/80 s · ISO 200
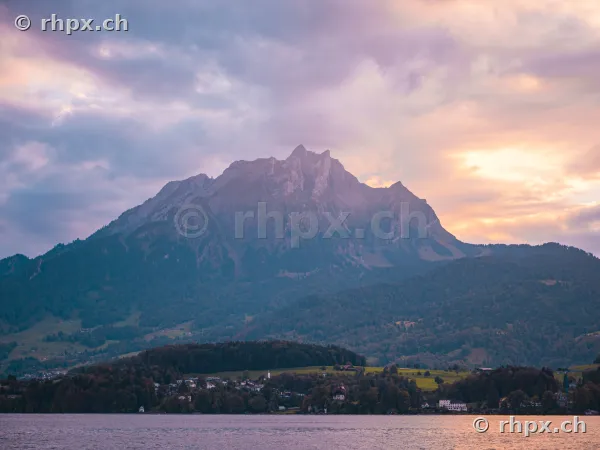 45 mm · f/4 · 1/320 s · ISO 200
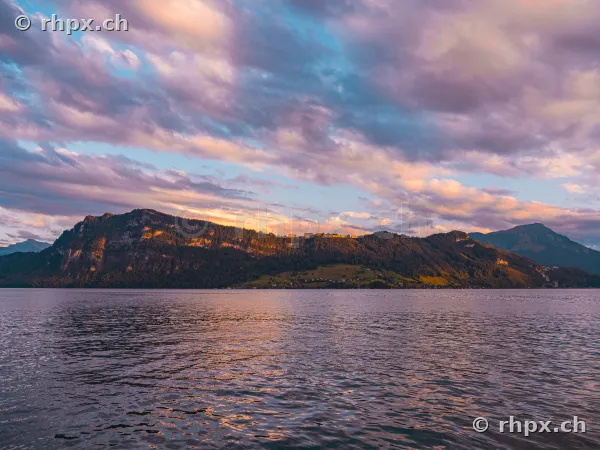 12 mm · f/4 · 1/400 s · ISO 200
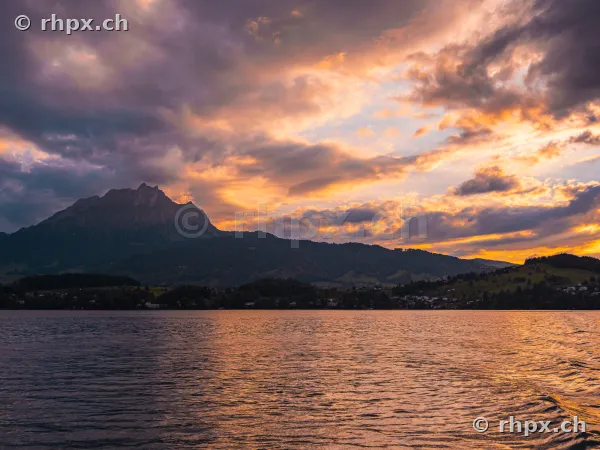 20 mm · f/4 · 1/1250 s · ISO 200
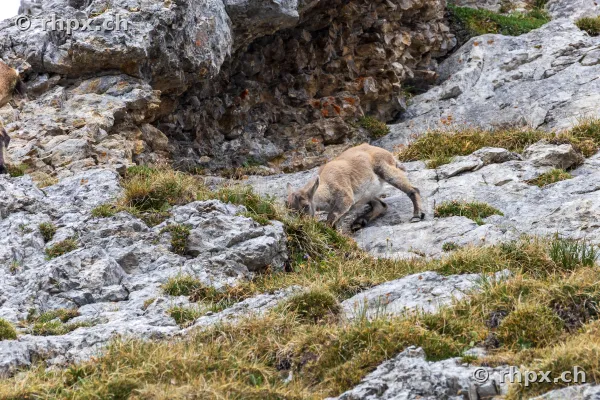 400 mm · f/11 · 1/800 s · ISO 800
Related topics