
Photography tips
Photographing Pilatus
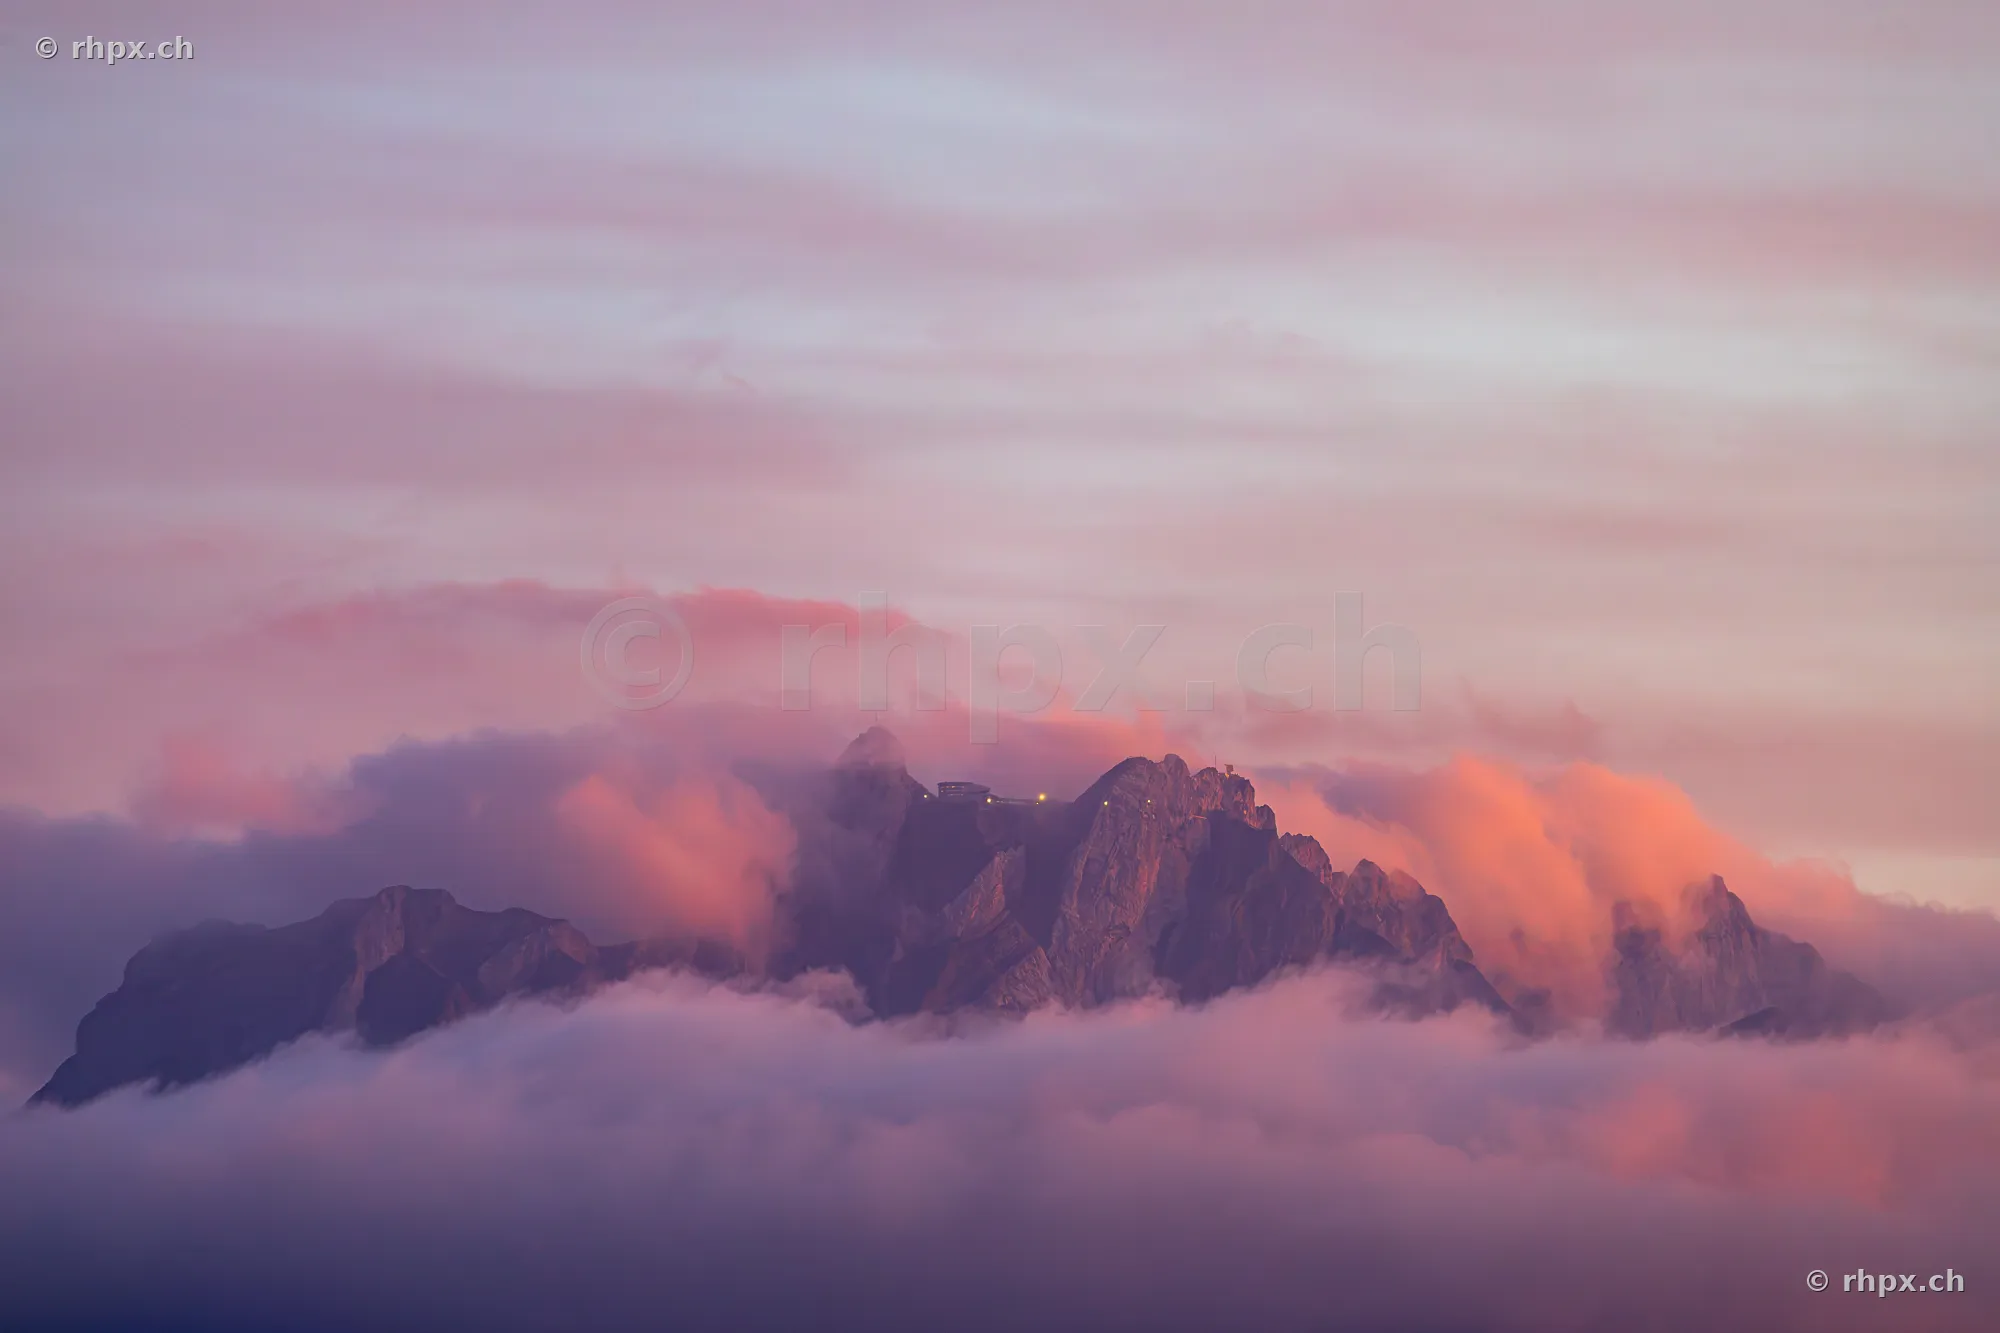
The Challenge of Pilatus
Photographing Mount Pilatus requires precise focal length selection due to significant distances and variable lighting conditions. As the massif appears both as a vast landscape and a high-contrast detail against the urban architecture of Lucerne, optical compression significantly determines the outcome of your image.
Practical Focal Length Application
Covering a range from 7 mm to 400 mm allows you to address varying distances. While extreme wide-angle lenses emphasize the geometry of the mountain in relation to the lake, long focal lengths allow for intense compression of the subject.
Foreground Composition
Integrating architectural elements, such as a rock tunnel, requires careful positioning. By placing such foregrounds, you guide the viewer's focus directly toward the Pilatus massif in the background.
How photographing Pilatus changes things
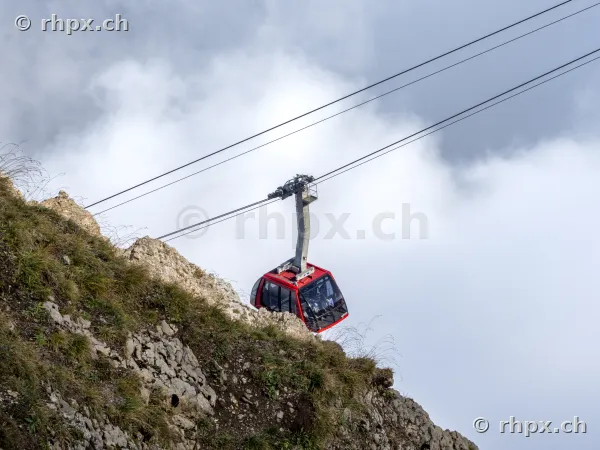
Optical compression
By using longer focal lengths, the subject is significantly enlarged and the background appears to be drawn closer to the foreground. This allows for a dense composition where the distance between the city and Pilatus is visually reduced.
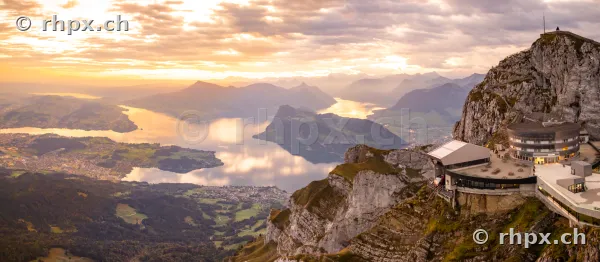
Capturing landscape vastness
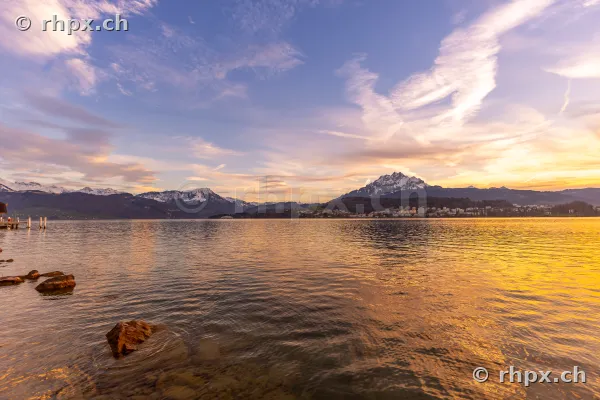
The use of a wide-angle lens is necessary to capture the vast extension of the lake and the mountain range in a single frame. The focus here is on embedding the massive rock structure into the broader spatial context.
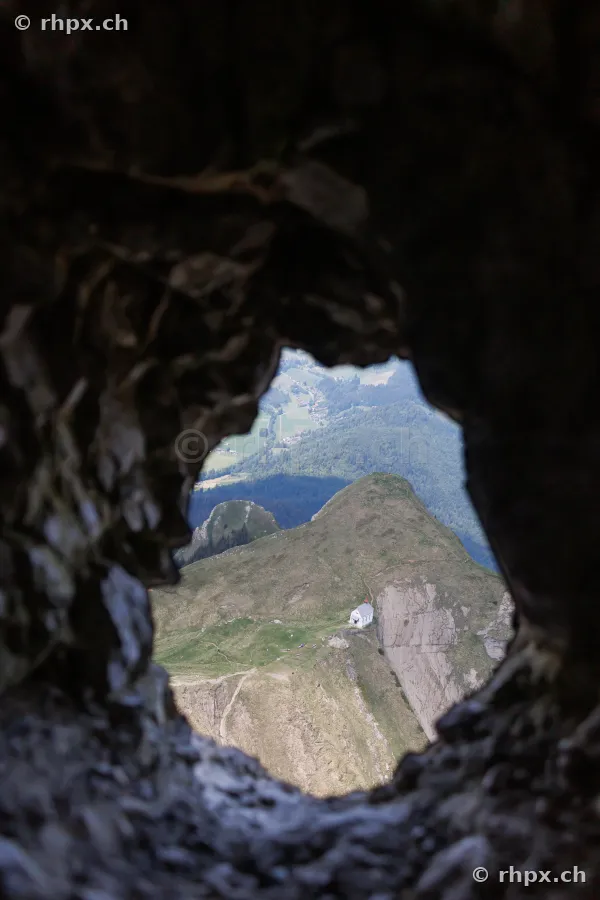
Directed composition
By consciously incorporating foreground elements like rock tunnels, the viewer's gaze can be precisely directed. Positioning these structures within the frame is crucial for creating a direct visual line to the Pilatus in the background.
Three concrete examples
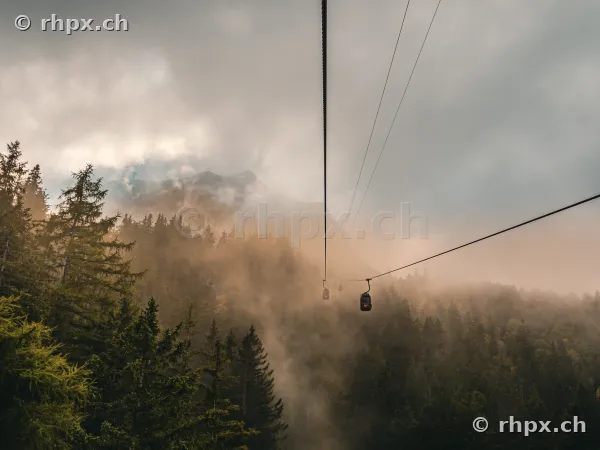
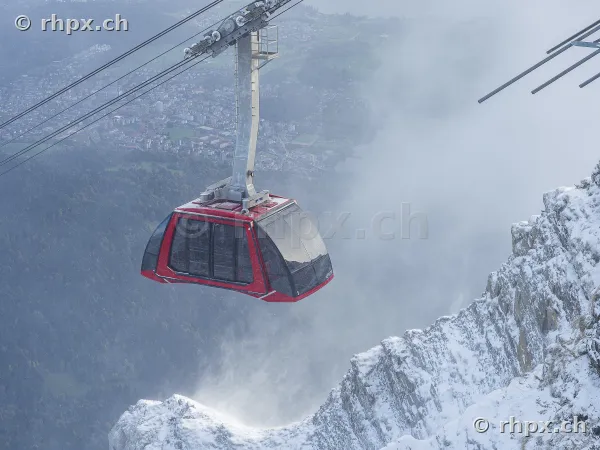
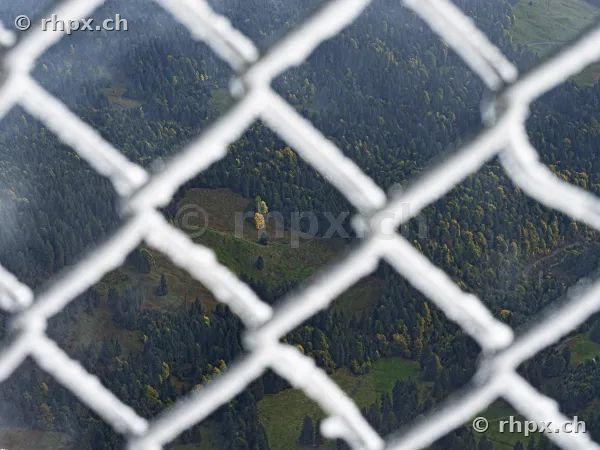
Key tips
- Use a long focal length such as 400 mm to capture urban details from a distance.
- Utilize a 200 mm telephoto lens to visually connect distant subjects with architecture in the foreground.
- Select a wide-angle focal length to capture the vastness of the lake and the Pilatus massif.
Photographs on this topic
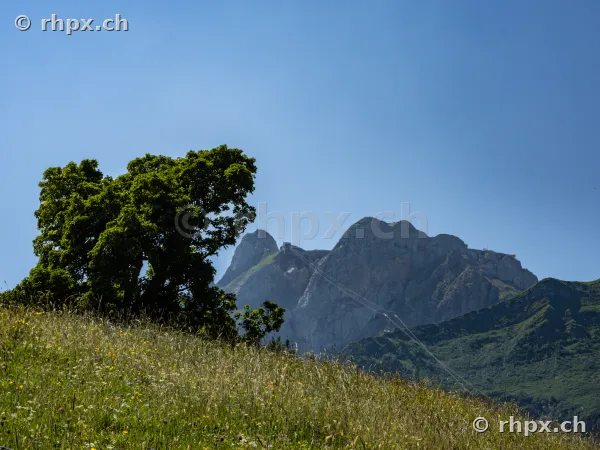
2 photographs with tips
The exact camera settings for each shot are shown below it - a starting point for recreating the look yourself. Click through to a photograph for detailed photography tips on that specific shot, under "Photography tips for this image".
Related topics